As we get closer to our target to move in this fall, the next logical project is cabinets. Cabinets! Cabinets! Cabinets! Seems like a never ending sub-project with the many details to get accomplished toward "done". While we're not quite there, we are closer. We bought RTA (Ready to Assemble) cabinets from The Cabinet Joint, made by Conestoga. Great company to work with and super quality. They have all of the ingredients of "high end" cabinets (quality hardwoods, dovetail drawers and cabinet construction and top grade hinges and glides), but they come in a box for you to assemble. we bought our unfinished, but you can get them stained or painted as well. We saved 1/2 over similar quality cabinets. Ours are stained knotty cherry beadboard upper cabinets and maple raised panel base cabinets that we finished in distressed black.

This is how one base cabinet looks in the box. This is an island base.

first you lay the face frame flat.

Apply good woodworking (Titebond II) glue to the joint.

The sidewalls, top and bottom of the cabinets have an integrated spline that fits into a groove in the face frame.

tap the sidewalls into the face frame with a mallet.
(Please note - do not use a mallard as feathers will go everywhere and stick to the glue.)

The base slides into a dovetail groove in the sidewalls and gets tapped into the face frame.
Glued and nailed in place.

Ditto for the tops. For a wall cabinet, this would be a solid piece. Glued and nailed in place.
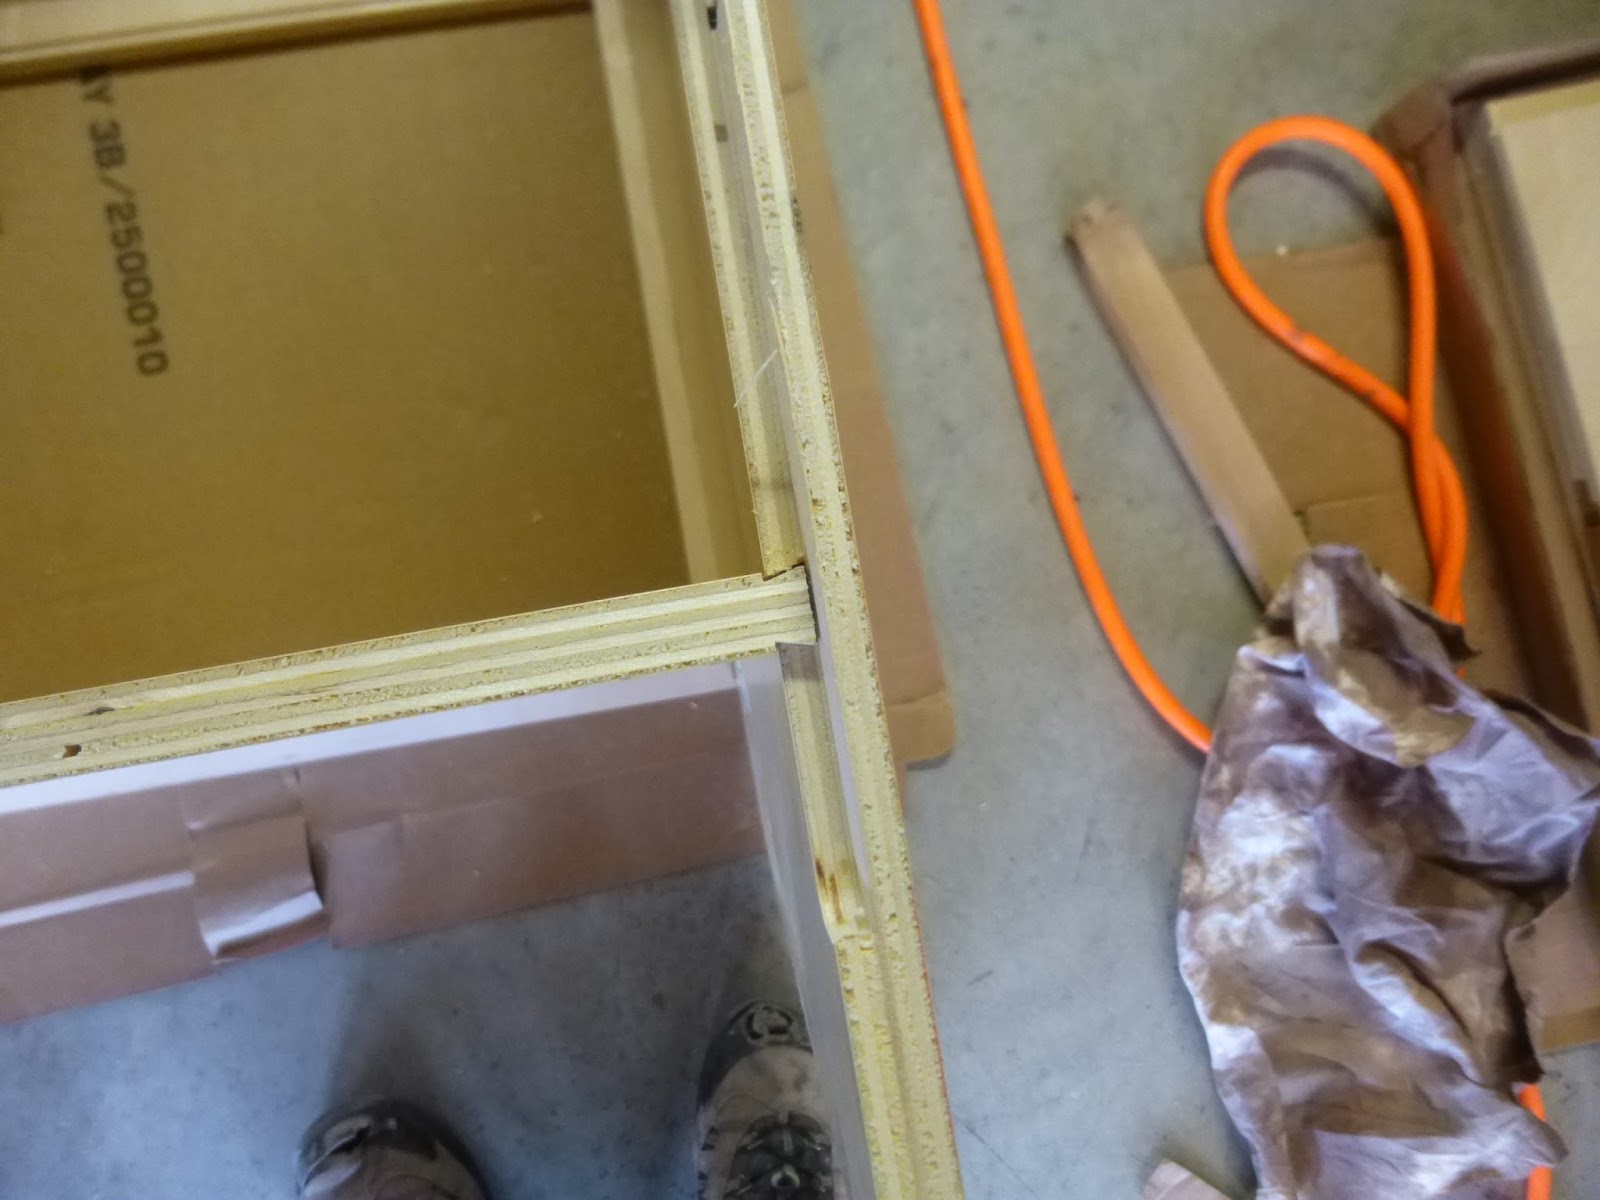
Here you see the dovetail groove

Then the back gets glued and nailed down. Use your Harbor Freight pin nailer and nail all of the joints with 1-1/4" brads.The use a wet sponge to clean up excess glue.

then clamp. You needs lots and lot of clamps if you are assembling several cabinets a day.

This is an unfinished knotty cherry door

We also have a bunch of mullion doors that we are going to insert punched tin into.

Here is Deb painting the base cabinets black. She used an Annie Sloan milk paint/wax combo. first the face frames were stained so the color comes through the distressed areas.

Installing the wall cabinets. level and plumb.

The wall and base cabinets are in and I am installing the island cabinets.

We bough 6 fancy turned spindles that we used on the island corners and on each side of the sink base. These are called "reed" spindles, of course.

Deb is putting up river rock on the island and two sides.

Today they came can set the granite coutertops

I was happy when they told me that me cabinets were very level. I used a laser lever to get them within +/- 1/8". I don't want cracked granite.

All set and glued in place.

We chose a chiseled edge to fit our decor

Deb is applying silicone around the sink. This is an Ikea double farm sink. That base cabinet is set "proud" by 3". We still have a "couple of weeks" of work to do in the kitchen, some custom cabinets to build for each side of the sink and the range hood, back splash, and some pull out shelves to build.

At the same time we are slowly bringing in furniture from the garage loft.

Ky;e's room is basically done except the closet.