The Cabin

The Cabin

Tuesday, May 23, 2017

A New House - Episode 31 - Siding and other stuff

 We have been pretty busy since the sun has finally shown itself, working on the log siding. With the exception of the front porch steps, which are still temporary, the front is done and the left side is nearly done (waiting for an order of chinking) It feels good to get the house sided and we are pretty happy with the look. 


We really think that this log siding approach is a win win for us, giving us all of the benefits of a stick-framed home (good insulation, but no bugs or leaks), with the look of a log home. The log slabs are 2" "slices" from the tree, with the natural edges in tact. 


After picking out the best log for the specific location I have to clean them up, sand them a bit, apply a water based pre-stain, then two coats of log stain made by Perma-chink. The slabs are 16' long and anywhere from 8" to 15" wide, so it takes both of us to put them up (duh)


The slabs are screwed into the wall's studs every 32" or so. 


After the logs are up, we cut and insert a 3/4" thick foam backer strip into the gaps. This is important to allow the chinking to float - attached to the upper and lower log but still able to give and stretch. We then squirt in the chinking - which is like a sandy caulk.We buy the chinking in 5 gal buckets, and suck it up into a large caulking gun, then repeat, repeat, repeat. Deb follows me and smooths it out.


This is our pile of log slabs


Deb hauled boulders and made some flower bed in front of the house.


When it is raining, we are forced to do work inside.This is the finished master bathroom vanity with Debs fancy mirror rockwork.


The master shower is finally done. A composite shower pan, tiled walls and more fancy pebble rock.


The master "powder room". Everybody needs a closet for you golf clothes, right?


I made this nifty industrial grade toilet paper holder. 

Next steps: more siding, scratch coat prep for river rock around base of the living room and chimney chase, dig holes for the rear deck and start deck construction

Tuesday, March 28, 2017

A New House - Episode 30 - Winter Work

Our last post on the new house was last October, so it's been a while. The big push was initially to get the house more "livable" and prep for the kids visiting over Christmas and having other friends and family over to visit. 


Deb did a sweet job decorating for Christmas


The dining room is all set up including that lamp I made in the corner and temporary railing around the stairs. 


The free-form floor lamp.


Kyle's room is essentially done. I just need to make some closet doors. His door to the "deck" is locked...since no deck yet exists.


We built and painted a cabinet in the foyer area. Other items completed were mostly stuff like hanging interior doors and finishing trim.


Trim is in around the living rooms windows and doors

And log trim around the entry to the living room. At this point, the main floor is "done". Yay!

Then we moved upstairs to work on the master bathroom


Starting with installation of the heated floors


This self-leveling floor compound is pretty cool - but make sure you seal all joints to prevent water from dripping to the floor below. 


The Deb started work on the quartzsite floor.


She infilled the grouted areas with pebble rock which we think looks pretty cool. 


... and rock around the tub


and the remodel work has already begun... i.e. "tweaking". Can you tell what is different in the picture from before?


Eventually I got around to starting the shower. 
Everything is covered with 1/2" Hardiebacker, then all joints are taped and mudded with thinset.


Then painted with two coats of Redgard sealer.


Then the tile. We chose a grey/brownish weathered wood-look plank tile. 


Two of 3 walls are planked. 


.. and Deb doing some fancy wall art around the vanity mirrors


free-form cut mirrors surrounded by free-form pebble rock. We saw this neato style while visiting friends Gary and Shelley at their home in Carefree, AZ. 


 All finished and ready for the vanity. 

..i know this look ins't for everyone, but we like it!


...till next time


Tuesday, October 18, 2016

A New House - Episode 29 - We're Scramblin'

Gosh...moving in is only a few weeks away!  Stuff isn't completely done, of course, but the main floor is very nearly almost done-ish, and the upstairs bedroom is getting nicely "livable". And of course, Kyle's bedroom and bathroom are done as is the guest bath "micro-suite".

It feels like the main focus over the last 2 months has been the kitchen. Good grief there are a lot of details in a kitchen.


The upper cabinets are cherry bead board and some have inset tin panels that we plan to punch ..someday. 


We're really happy that our plan with the bump out sink and base turned out pretty nice we think. Once again, Deb's handiwork with the back splash including tiles from Italy. 


We made these cabinets sitting on each sink of the sink, as well as the narrow ones on each side of the range hood. The shelves are zinc covered and the doors will be punched someday. Deb distressed/painted the cabinets. The doors for the appliance garage areas, hinge out then slide back,  and hide the coffee maker, Cuisinart, and blender.


Deb did an amazing job with the pebble stone back splash above the counter tops and behind the stove. that maple leaf platter is something we bought in Italy.


Deb has spent many an evening "moving in". Sorting through the furniture and boxes in the garage loft and bringing in items we plan to use, and sorting stuff we plan to save or sell. We have also been moving items from the cabin, such as the couch, dressers and cabinets. We still have an amish morris chair awaiting arrival. 


 The upstairs bedroom is fully sheetrocked (although only 1/2 will be sheetrock and the other 1/2 pine T&G). Deb has been painstakingly mudding, skip-trowling, and painting prior to move in. 


So when we move in, we'll have a toilet and a bed.... and a small sink...that's all we need. 
A toilet and a bed, a small sink ... and a bathtub. 
A toilet and a bed, a small sink, a bathtub ...,and closets, but that's it.
A toilet and a bed, a small sink, a bathtub, closets, ... and dressers, but that's it. that's all we need.

A toilet and a bed, a small sink, a bathtub, closets, dressers... and a lamp... but that's it. that's all we need. and a TV. 


Today I installed the phone*, DSL, network jacks and tested everything. 

*For phone we actually recently cut the Centurylink cord and switched our landline over to a Verizon 4G LTE Mifi router. so while we have the same number, our landline phones actually connect throught the wireless network. We also installed a cellular booster system consisting of and external yagi antenna, an amplifier, and an indoor antenna. Now we have a backup link through that router so we can stream through Verizon whenever Centurylink chokes. 


Monday, August 15, 2016

A New House - Episode 28 - Cabinets! Cabinets! Cabinets!

As we get closer to our target to move in this fall, the next logical project is cabinets. Cabinets! Cabinets! Cabinets! Seems like a never ending sub-project with the many details to get accomplished toward "done". While we're not quite there, we are closer. We bought RTA (Ready to Assemble) cabinets from The Cabinet Joint, made by Conestoga. Great company to work with and super quality. They have all of the ingredients of "high end" cabinets (quality hardwoods, dovetail drawers and cabinet construction and top grade hinges and glides), but they come in a box for you to assemble. we bought our unfinished, but you can get them stained or painted as well. We saved 1/2 over similar quality cabinets. Ours are stained knotty cherry beadboard upper cabinets and maple raised panel base cabinets that we finished in distressed black. 


This is how one base cabinet looks in the box. This is an island base. 


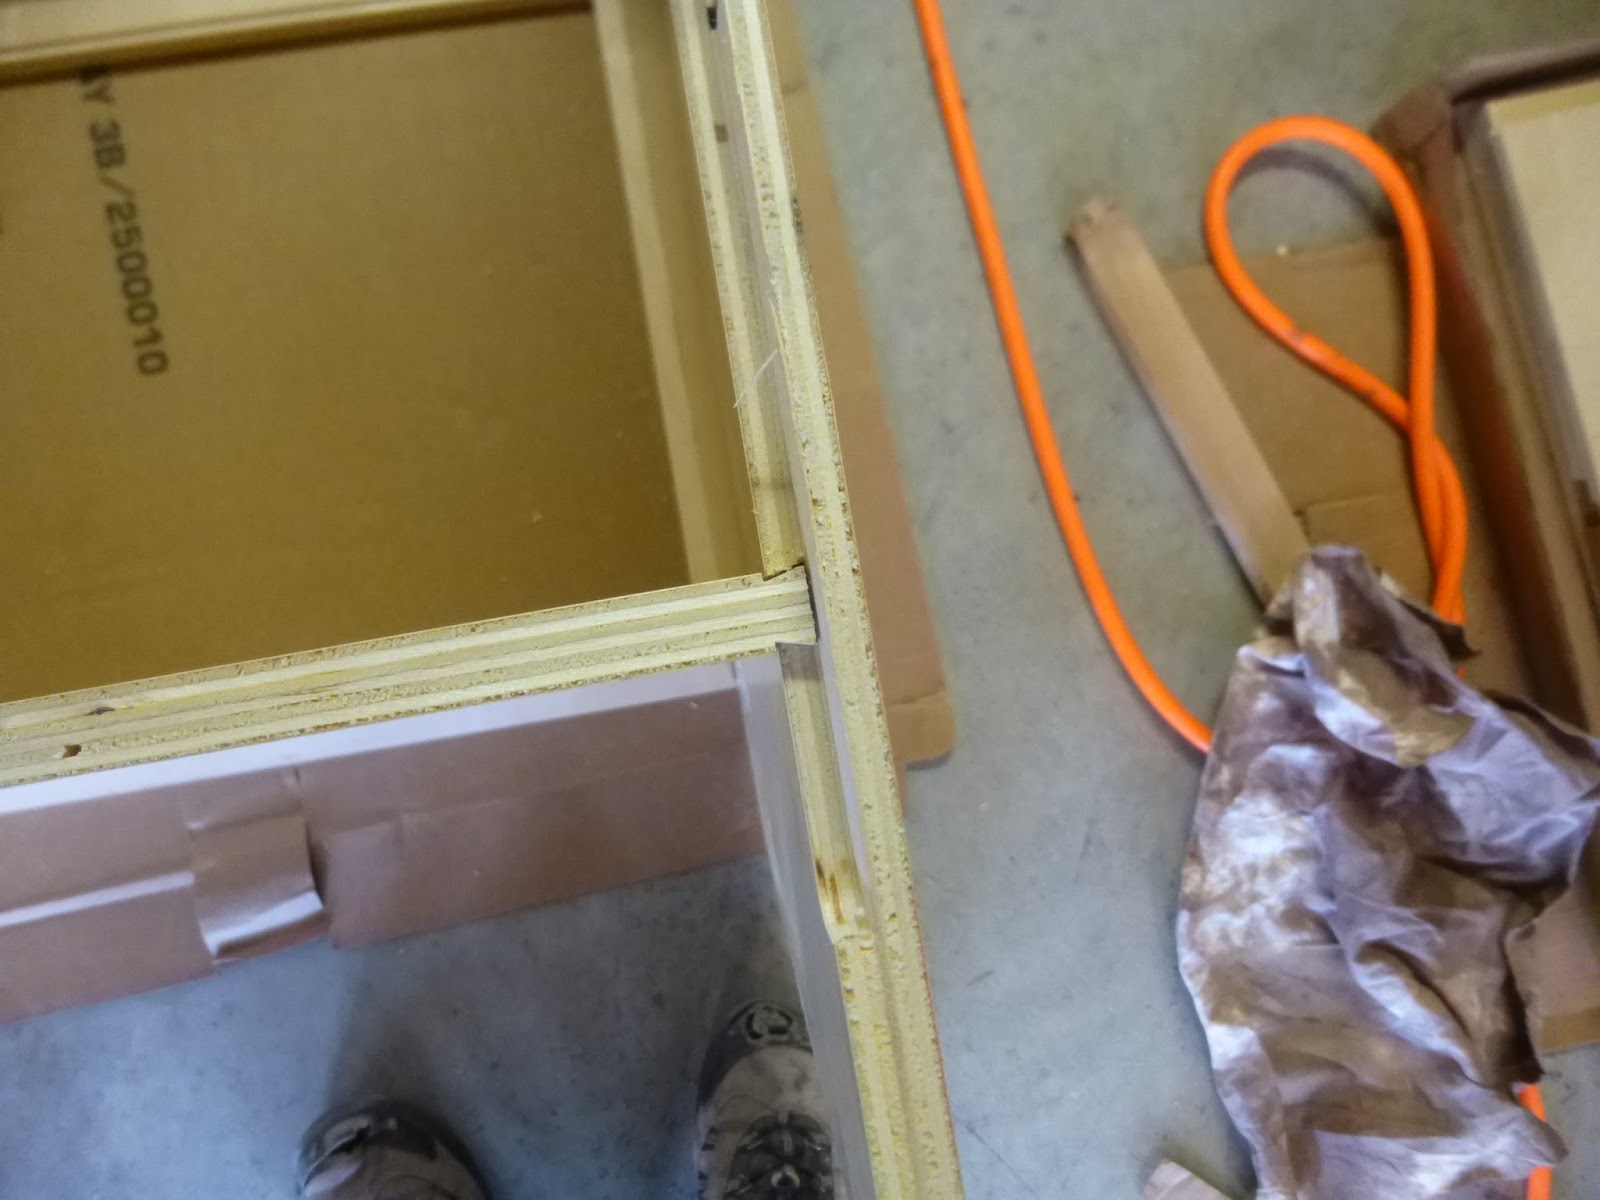
first you lay the face frame flat.


Apply good woodworking (Titebond II) glue to the joint.


The sidewalls, top and bottom of the cabinets have an integrated spline that fits into a groove in the face frame.  


tap the sidewalls into the face frame with a mallet. 
(Please note - do not use a mallard as feathers will go everywhere and stick to the glue.)


The base slides into a dovetail groove in the sidewalls and gets tapped into the face frame. 
Glued and nailed in place.


Ditto for the tops. For a wall cabinet, this would be a solid piece. Glued and nailed in place.


Here you see the dovetail groove


Then the back gets glued and nailed down. Use your Harbor Freight pin nailer and nail all of the joints with 1-1/4" brads.The use a wet sponge to clean up excess glue. 


then clamp. You needs lots and lot of clamps if you are assembling several cabinets a day. 


This is an unfinished knotty cherry door


We also have a bunch of mullion doors that we are going to insert punched tin into. 

Here is Deb painting the base cabinets black. She used an Annie Sloan milk paint/wax combo. first the face frames were stained so the color comes through the distressed areas. 


Installing the wall cabinets. level and plumb. 


The wall and base cabinets are in and I am installing the island cabinets. 


We bough 6 fancy turned spindles that we used on the island corners and on each side of the sink base. These are called "reed" spindles, of course. 


Deb is putting up river rock on the island and two sides. 


Today they came can set the granite coutertops


I was happy when they told me that me cabinets were very level. I used a laser lever to get them within +/- 1/8". I don't want cracked granite. 


All set and glued in place.


We chose a chiseled edge to fit our decor


Deb is applying silicone around the sink. This is an Ikea double farm sink. That base cabinet is set "proud" by 3". We still have a "couple of weeks" of work to do in the kitchen, some custom cabinets to build for each side of the sink and the range hood, back splash, and some pull out shelves to build. 


At the same time we are slowly bringing in furniture from the garage loft. 


Ky;e's room is basically done except the closet.